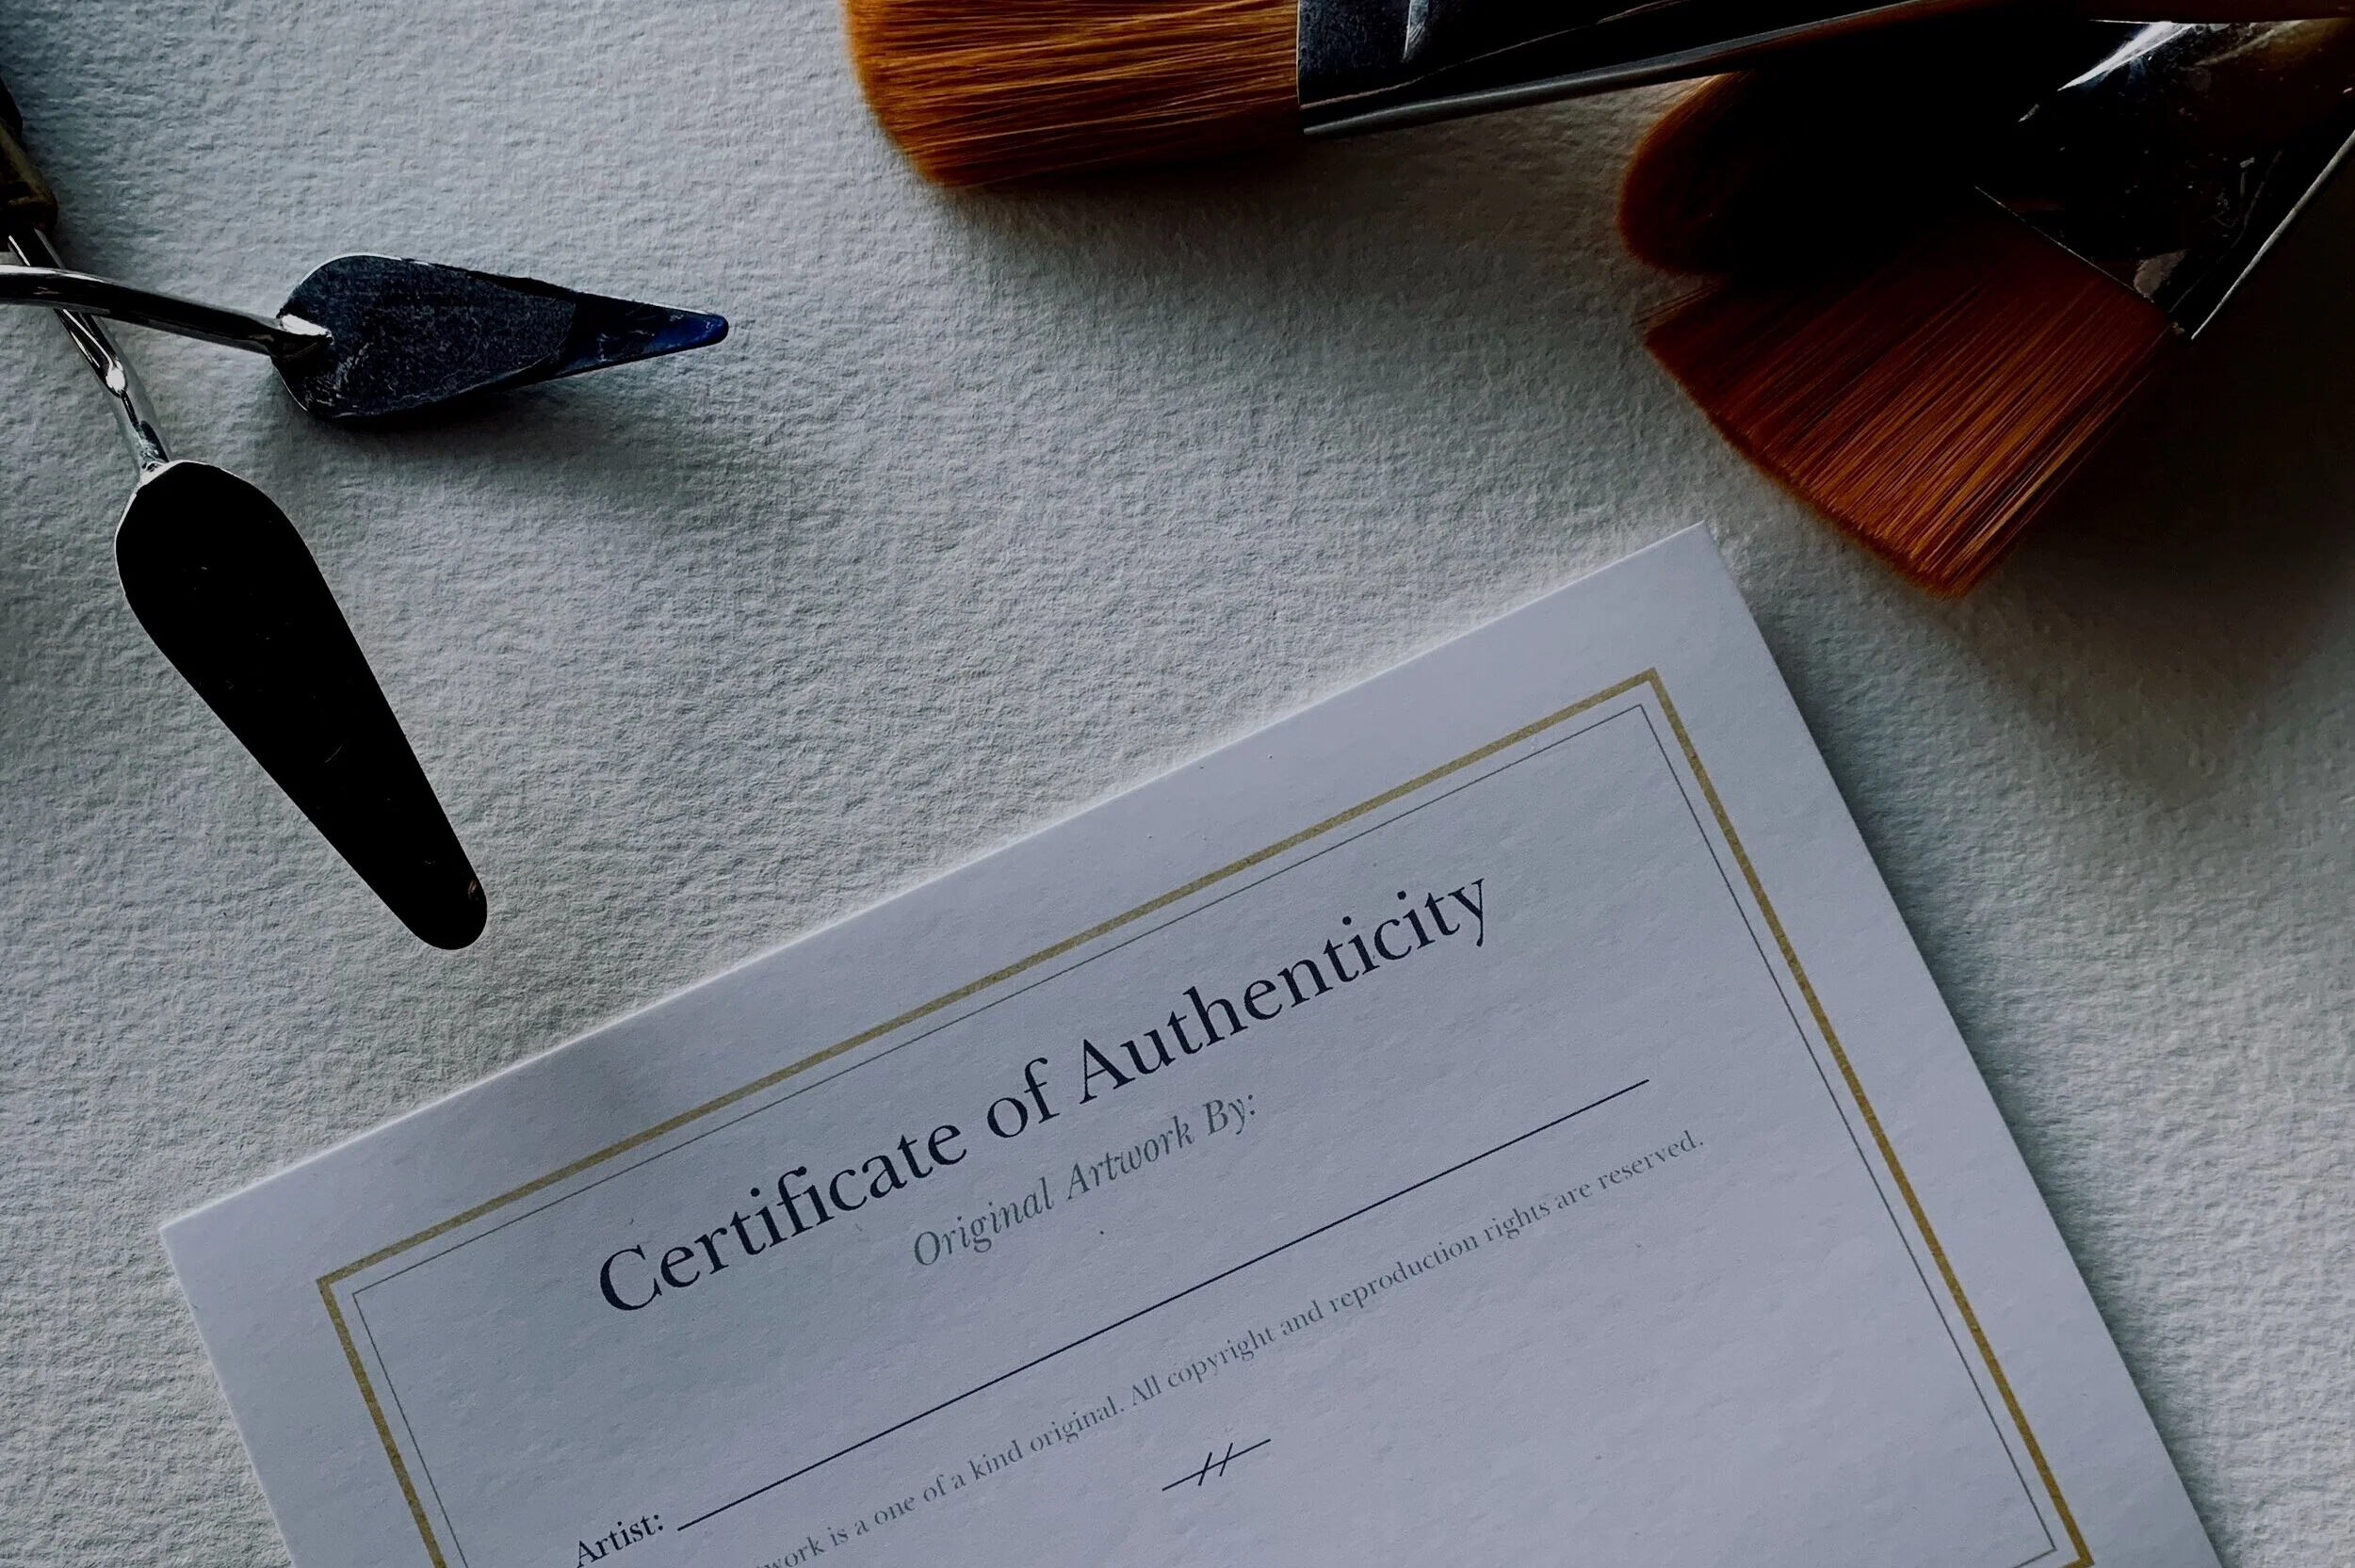
How do I get labels for an art show?

Participating in an art show is an exciting opportunity to showcase your creativity and connect with an audience. One essential detail that can often be overlooked in the hustle of preparation is creating labels for your artwork. These labels are not only informative but also enhance the viewer's experience by providing context and insight into your pieces. Here’s a step-by-step guide to help you create professional and effective labels for your artwork.
Step 1: Gather Essential Information
The first step in creating artwork labels is to gather all the necessary information that should be included. Typical details are:
Title of the Artwork: This is usually in italics or bold to make it stand out.
Artist's Name: Your full name, as you want it to appear.
Medium: The materials and techniques used to create the piece.
Dimensions: The size of the artwork (height x width x depth, if applicable).
Year of Creation: The year when the artwork was completed.
Price (if for sale): This is optional and depends on the policy of the art show.
Step 2: Design the Label
The design of your label should be clean and professional. Here are some tips for an effective design:
Font: Use a legible font like Arial, Helvetica, or Times New Roman. The size should be readable from a short distance, typically between 12-16 points.
Layout: Ensure a logical layout that separates each piece of information clearly. You might use bold or italics to differentiate between the title and other details.
Colors: Stick to neutral colors like black or dark grey on a white or light-colored background to ensure readability or vice versa for a dark colored label with white text.
Step 3: Create the Labels
You can use software like Microsoft Word, Adobe Illustrator, or even online tools like Canva to design and print your labels. Here’s a simple guide using Microsoft Word:
Open a New Document: Open Word and start a new blank document.
Set Up Your Page: Go to ‘Layout’ and select the ‘Margins’ and ‘Orientation’ suitable for your labels.
Insert a Table: This helps in aligning your text perfectly. Insert a table with as many rows as you need for your labels.
Enter Your Information: Fill each cell with the details of each artwork.
Format the Text: Adjust the font, size, and style as needed. Make sure each piece of information stands out and is easy to read.
Print: Once you're satisfied with the design, print the labels on high-quality paper or card stock.
Step 4: Mount the Labels
Mounting your labels is as important as creating them. Here’s how to do it right:
Use a Mounting Board: Mount your labels on a sturdy backing like foam board or card stock to keep them from curling or bending.
Adhesive Options: Use double-sided tape, adhesive putty, or Velcro strips to attach your labels to the wall or display stand. Avoid using materials that might damage the wall or your artwork.
Positioning: Place the labels at eye level and close enough to the artwork for easy reading without obstructing the view of the piece. Typically, labels are placed to the right or below the artwork.
Step 5: Review and Finalize
Before the show:
Proofread: Double-check for any spelling or grammatical errors.
Consistency: Ensure all labels are consistent in style and format.
Final Touches: Make any necessary adjustments to enhance readability and appearance.
Creating labels for your artwork is a crucial step in preparing for an art show. Well-designed labels not only provide essential information but also enrich the viewer’s experience. By following these steps, you can ensure that your labels are professional, informative, and aesthetically pleasing, allowing your art to truly shine.
Custom Art Exhibition Cards Made for You
I’ve also created a collection of templates on Zazzle to help you with this process. If you’d like, you can check them out in the image link below!